VIT 400 - Single Yarn Strength Tester

Application
Automatic Single Yarn Strength Tester, to determine the breaking strength and elongation rate of single yarn made of cotton, wool and others up to 6000cN, with air-driven clamps. Fully automatically test up to 20 cops at the same time.
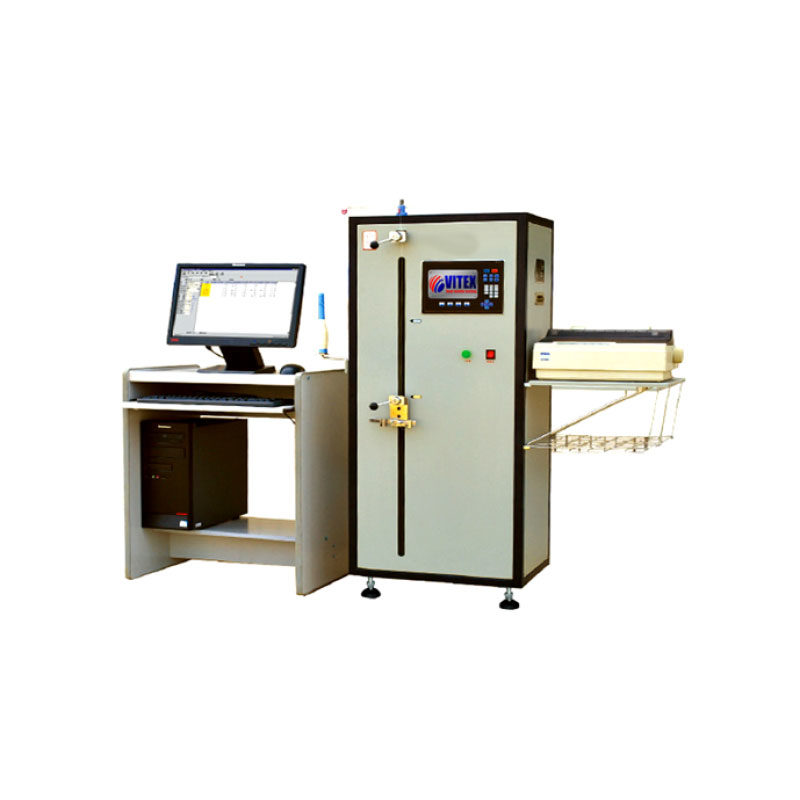
Features

  • Working pattern is CRE principle, controlled by software running in computer
  • Automatic feeding of yarn, and automatic clamping for test, fast and without damages to yarn
  • Fitted with Waste yarn collecting device, to make labs clean
  • Test up to 20 cops at the same time
  • Software is offered thus the machine can be controlled by a computer. The built-in printer or an additional printer can print test reports.

Standards
ASTM D2256, ISO2062, GB/T398, GB5324, GB/T14344, BS, JIS, AS, CAN/CGSB

Power / Air
220V 50 Hz 0.4 ~ 0.8mPa

Weight
140 Kg

Dimensions
550 x 450 x 1600 mm (L x W x H)

Yarn Strength Testing Methods

  1. Objectives and requirements

To familiarize with the structure of yarn strength tester and the measuring single yarn strength and elongation during the test.

  1. Apparatus, tools and specimens

Single yarn strength tester, and yarn specimens.

  1. Single yarn strength definition

Single yarn strength: Defined as the required tensile force to break a single yarn. It is an important factor affecting yarn tenacity and yarn elongation.

  1. Test procedure
  • The specimen has to be placed under standard atmosphere for 24 hours and the humidity has to be adjusted if possible.
  • Switch on the main device and put the apparatus under self-testing. After that, push the “Setting” button to enter parameter setting interface.
  • The “Testing Mode” should be set with the corresponding parameters as: Constant rate stretching, Clamping distance(Length of the specimen): 500mm, Strength rate: 500mm/min, Cycles: 30, and other parameters.
  • Enter the “Calibration Length” on the Main Menu of the “Settings” to register the calibration length.
  • Enter the “Force Calibration” on the Main Menu of the “Settings” to set the zero calibration.
  • Exit “Settings” to enter testing mode. The testing process can also be entered by using the previously set parameters after switching on the device.
  • Clamp the specimen. Note that the increasing tensile load should be properly set with respect to the yarn thickness. The tensile load can be adjusted by using the tensioner under the fixing plate.
  • Press the “Stretch” button to start the test. After the specimen is broken, the clamper will automatically return to its original position. The test result along with corresponding parameters will be printed out from the printer after the single yarn strength calculation and yarn tenacity calculation is done by the computer.
  • Repeat Step 7 and 8 until the set number of cycles is reached and the statistics will be printed out.
  • End the test and cut off the power supply.
  • Test range 20cN ~ 6000cN
  • Accuracy ≤ 1% F. S
  • Sampling range 0 ~ 9m
  • Pre-tension load 0 ~ 100cN, adjustable
  • Elongation range 800mm
  • Gauge length 250mm (stretching rate 220%),
    500mm (stretching rate 160%)
  • Tensile speed 50 ~ 5000mm/min, adjustable